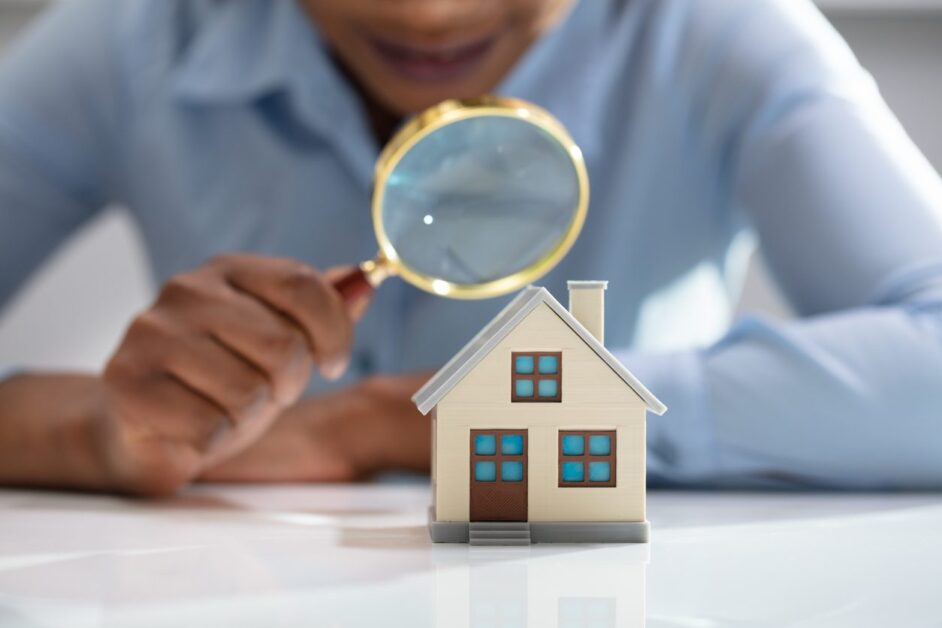
Have photos printed at Printerpix with the most optimal result. I have listed below everything you need to take into account when printing photos and the options they offer. The following are some handy tips for ordering photo prints.
Have photos printed at Printerpix
These directions are intended for photographers who know how to set up their workstation and monitor to reliably assess the results of the image processing they apply to their photos.
The best results for photo printing are obtained by creating a file that is precisely tailored to the system, which involves the following:
- The file type
- The color space
- The measurements
- The sharpening
All these settings can be made when exporting from Lightroom, or when saving from Photoshop’s Camera-RAW plugin. A copy is then automatically made with the desired properties that you only use for having the prints made. Your own original file will therefore always remain available unaltered, for any other use whatsoever.
File type
In itself, the choice of a certain type of image file is not very important, but JPEG is by far the most useful. Despite the compression used, you will not notice any difference with other types of files that are saved and sent without compression. You should choose a setting with sufficient quality and therefore not too much compression.
In Photoshop, quality 9 is very good, if you’re afraid that’s not good enough, you can also choose 10. The choices for quality 11 and 12 do not have much added value, the files are larger, but not visibly better.
In Lightroom, the choice is different because a different format is used there: 80 is an excellent quality from Lightroom, something higher is of course also possible.
Color space
The use of AdobeRGB as color space is also quite possible with Printerpix. RGB may yield slightly less color saturation for some photos, other color spaces make little sense for printing.
Dimensions
Here you have to very carefully choose the right settings to ensure that the file is printed exactly as you sent it yourself, because then you have it under control. This concerns the combination of the dimensions in centimeters and the resolution in pixels per inch, DPI. The Printerpix software also gives a very handy notification if the photo is of too low quality.
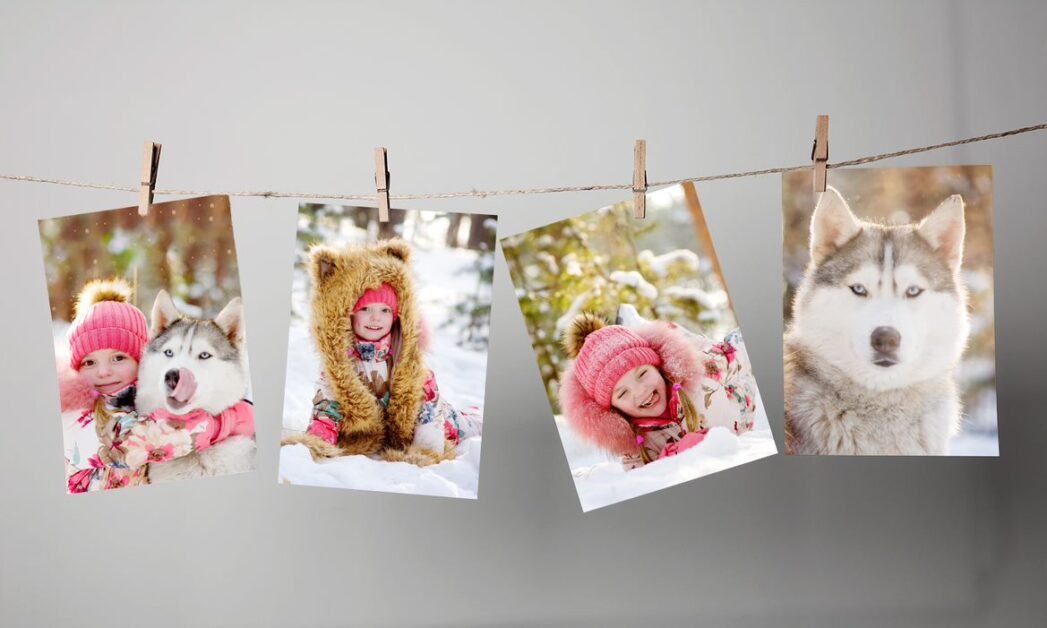
The dimensions are linked to the dimensions of the rolls of photo material on which the prints are made. The shortest side of the photo, the height for a landscape image, the width for a portrait photo, must be precisely tailored to the width of the roll. The longer side is simply used all the way. With normal prints you can therefore choose from square to a ratio where the long side is 1.5 times as long as the short side: the classic 35 mm format with a 2:3 ratio.
There is a whole range of width sizes to choose from:
- 13 cm is exactly 12.7 cm wide (for prints up to 13 x 19)
- 15 cm is exactly 15.2 cm wide (for prints up to 15 x 22)
- 20 cm is exactly 20.3 cm wide (for prints up to 20 x 30)
- 30 cm is exactly 30.5 cm wide (for prints up to 30 x 45)
- 40 cm is exactly 40.6 cm wide (for prints up to 40 x 60)
- 50 cm is exactly 50.8 cm wide (for prints up to 50 x 75)
- 60 cm is exactly 61.0 cm wide (for prints up to 60 x 90)
- 70 cm is exactly 71.0 cm wide (for prints up to 70 x 105)
- 76 cm is exactly 76.2 cm wide (for prints up to 76 x 115)
- 80 cm is exactly 81.3 cm wide (pre-print up to 80 x 120)
- 90 cm is exactly 91.4 cm wide (for prints up to 90 x 135)
- 100 cm is exactly 101.6 cm wide (for prints up to 100 x 150)
- 120 cm is exactly 121.9 cm wide (for prints up to 120 x 180)
Exceptions are 10×15 and 11×15, both of which are printed on the 15.2 cm roll, with the long side adjusted to the width of the roll.
Panoramic formats are possible at 10 and 76 cm wide. If you choose panoramic on a different paper size, you will get white borders at the top and bottom because the width of the panorama is then measured at 1.5 times the width of the roll. If you crop your photos, make sure that the aspect ratio does not exceed 2:3. If your photos are too wide, you’ll get white borders at the top and bottom because no part of your photo will ever go unprinted.
For all sizes up to 30 x 45, ie on a 30.5 cm wide roll, 320 dpi is used as the print resolution. For the larger dimensions, 254 dpi is used.
sharpening
When editing your photos, you can apply different types of sharpening, which you judge on your screen. But at the last step, making a print, the technique used always loses some sharpness, regardless of which technique is used.
When creating a file for printing, you can compensate for that loss during printing by adding extra sharpening. How much sharpening you choose is a matter of taste. Also pay attention to enlargements from 40×60, too much sharpening can be bad and produces a moire effect.
Export
Choosing all these settings is easiest done in the export module of Lightroom or when saving from Adobe Camera RAW.
The screenshots show the settings. Both programs also allow you to save such a set of settings so that you can choose them in the future with one click to export a series of photos for printing.
White Borders
Basically, photos without white borders are printed on the paper. If you do want photos with white borders, you’ll have to add them to your photo yourself.
Your starting point is then the photo exactly on the size on which the photo must be printed, you then place that photo on a white background of exactly the paper size on which it must be printed. If you want to work very precisely, you do the operations to add the white border with TIFF files, the end result can then be sent as JPEG again.
enlarge canvas
This is a simple operation, you choose to enlarge the canvas in Photoshop. For the size you choose exactly the desired dimensions for the paper and you can place the photo in the middle.
Paste on a white background
If you want more freedom to place your photo, for example with a white border that is not the same width on all sides, then you start by making a blank white document of the right dimensions: so exactly the paper size and resolution you need. You export your photo at the desired size for the image. You can then paste it on the white background in Photoshop and place it exactly where you want the photo within the white.
If you want to use the same measurements more than once, it is useful to save the white sheet, together with guidelines, as a protected file so that you can use it exactly identically over and over again.
Keep in mind that most online photo printing stores always slightly overexpose the image for sizes up to 30×45 cm to avoid white edges. This amounts to about 40 pixels of image loss all around, so white edges that are too thin can also be lost. You can also choose the white borders option from the design tool of the online shop itself, then they place a white border around the photo that takes up 5% of the paper surface.